

How Add Weed Into Acrylic Nails
If you're obsessed with your nails, then y'all know there's nothing every bit satisfying equally walking out of a salon with a fresh acrylic set. Simply after a few weeks with those glamorous nails, you as well know what'southward coming: the dreaded and deadening acrylic nail removal process.
"It is important to remove acrylics in a proper way by soaking, versus breaking them off your cocky and tearing them abroad from your natural nail, which in turn tin damage your nails," explains LeChat Nails educator Syreeta Aaron. "When you cull to tear off the acrylics from the natural nail you are violent extra layers off the nail, or onyx, [which is] the technical term for the boom." The more layers that are removed, the more the nails are damaged. "Nails are equanimous of difficult keratin which is technically what pare is made from," explains Aaron, adding that "to tear off actress layers would exist like violent off actress pare." (Yes, eek.)
Although experts recommend that you seek out a qualified boom tech to remove your acrylics safely, youcan exercise it at home. Read on for DIY removal advice from Aaron, celebrity manicurist and CEO of Chief Class Nail Academy Julie Kandalec, and CND Nail Instruction Ambassador Vanessa McCullough.
Step 1: Cut Off Nail Extensions
Start by using an acrylic nail clipper to trim any of the boom extensions and their acrylic coatings that extend by the length of your natural nails. Clipping off the excess production helps to expedite the removal process.
Footstep 2: File Down the Summit Layer of Acrylic
Using a 100-grit coarse nail file, brainstorm to file down the acrylic blanket to sparse out the acrylic and to scratch up the surface a bit. The scratches that the file creates on the acrylic are of import, because they human activity as channels, which helps the acetone you're going to apply next absorb more rapidly.
Whatever you practice, steer clear of nail salons that apply harsh chemicals such as methyl methacrylate (MMA) during the acrylic application process—"In order to remove this dangerous acrylic, you would really have to rough up the nail bed, causing permanent damage to the natural nail," Kandalec explained.
Step 3: Apply Cuticle Oil
Before you soak off the acrylic layer of your nails, y'all need to hydrate, hydrate, hydrate. "Acetone remover is extremely drying and then you want to exist sure to use cuticle oil around the perimeter of the smash, on cuticles and even under the nail on to your fingertips," Kandalec says.
McCullough recommends a cuticle oil like CND Solar Oil, which has natural oils that serve equally a protective bulwark, so your skin doesn't absorb the drying acetone.
Footstep 4: Soak the Acrylic Off
Aaron recommends first determining whether you have regular smoothen or gel on top of the acrylics. "If yous have regular polish you tin begin the process of soaking correct away. If you have gel smoothen on tiptop of the acrylic yous must first intermission the superlative layer or topcoat of gel smoothen then you may brainstorm to soak," Aaron explains.
Drench a cotton fiber ball into 100 percent pure acetone, place the cotton on to the surface of smash, and wrap each nail in foil. Wrapping the nail in foil serves two purposes: "It prevents the acetone from evaporating rapidly while retaining your body heat, causing the acetone to work fifty-fifty faster," said Kandalec. Exist sure to let each nail remain wrapped for at least twenty minutes to allow the acetone acrylic to fully break down.
When y'all're not immediately getting another mani, Aaron also offers an additional tip. "If you are not planning on putting gel polish back onto your natural nails yous may began to soak with 100 pct acetone mixed with a few drops of cuticle oil similar LeChat CBD Cuticle Oil," which will help replenish the blast as yous remove the smoothen.
Pace 5: Gently Scrape Away Acrylic
Unwrap and work on one nail at a time, so the other nails remain wrapped every bit long as possible. "Subsequently unwrapping, cheque to make sure the acrylic has a soft and gummy consistency," says McCullough.
If it does, take a wooden stick cuticle pusher and gently scrape off the softened acrylic, working from the expanse closest to the cuticle outward toward the tip of the nail. If the acrylic isn't coming off hands, don't pry it. Instead, stop, identify the acetone-soaked cotton fiber back on the smash, so re-wrap the nail for a few more than minutes.
Footstep six: Buff Off Any Remaining Acrylic
No thing how carefully yous remove the acrylic, stubborn spots may remain on the boom bed. If there are whatever remnants left behind, utilise a multi-sided buffer to vitrify away the concluding bits until your nail bed is clean and smooth.
Step seven: Finish with More than Hydration
Use a final layer of cuticle oil to rehydrate the nail. If y'all don't plan on getting a new acrylic set immediately, terminate with a keratin-based nail handling, like CND RescueRXx. "Your nails are made out of keratin, so this boom treatment actually absorbs into the layers of the blast plate to brand the boom strong and healthy," says McCullough.
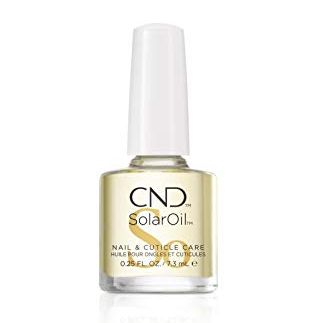
CND Essentials Nail & Cuticle Oil, Solar oil
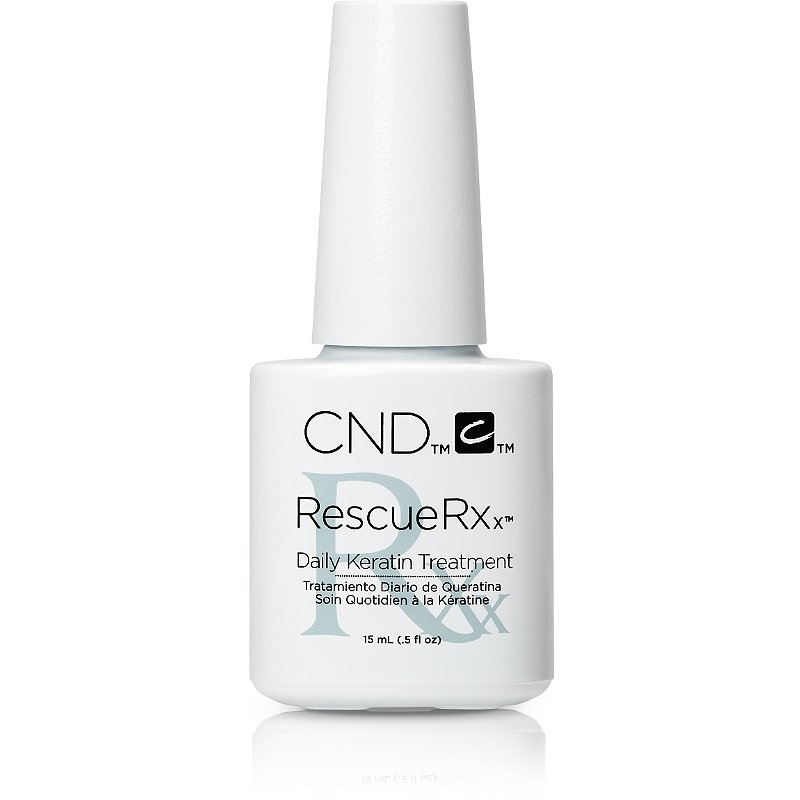
CND RescueRXx Daily Keratin Treatment
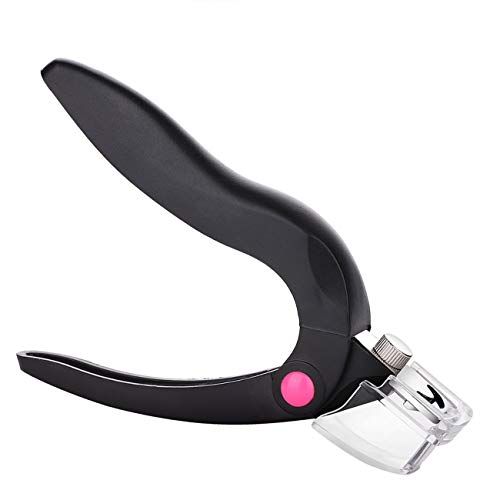
Makartt Acrylic Nail Clippers
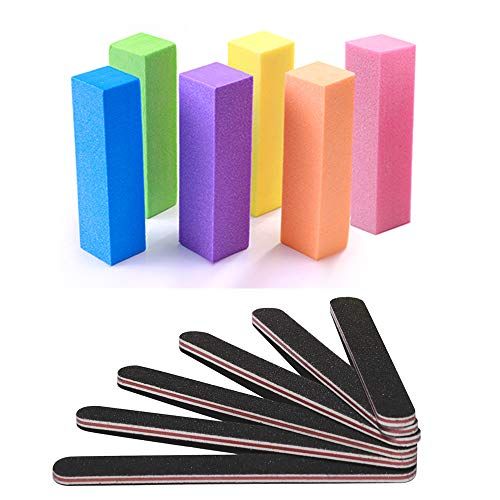
TsMADDTs Boom Files and Buffers


Source: https://www.marieclaire.com/beauty/a30521596/how-to-remove-acrylic-nails/
Posted by: lloydcrent1997.blogspot.com
0 Response to "How Add Weed Into Acrylic Nails"
Post a Comment